DomainKeys Identified Mail (DKIM) is an anti-tamper protocol that ensures your mail remains secure in transit. It uses digital signatures to check that the email was sent by a specific domain.
Follow these steps to set up DKIM on your Mailgun account :
- Log in to your Mailgun account.
- Select ‘Domains’ from the available list.
- Add your domain name or your subdomain name in the space provided.
- After you add your domain, a DKIM key will be generated.
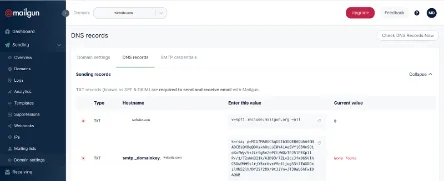
- Copy the DKIM records and paste them into your DNS management console.
- Save the changes and wait for 48-72 hours for the changes to take effect.
- Log in to your Mailgun account again and look for the ‘Verified’ sign.
DKIM has been successfully set up on your Mailgun account. You can check your DKIM record using EmailAuth’s free DKIM validator tool.