- Log in to your Cloudflare account.
- Navigate to your dashboard, locate the domain you wish to add the DMARC record to, and click on the ‘DNS’ button.
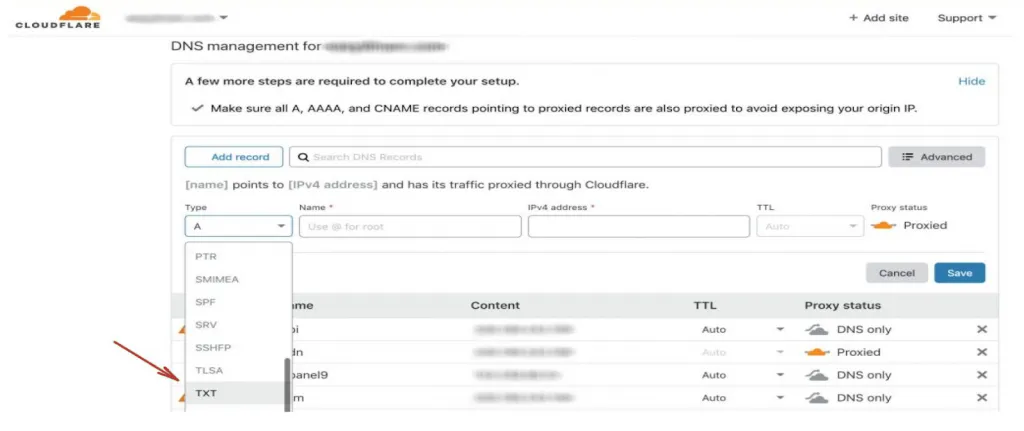
- On Cloudflare’s DNS management page, enter the following details and click the ‘Add Record’ button:
- From the ‘Type’ drop-down list, select ‘TXT’
- In the ‘Host’ field, enter ‘_dmarc’
- In the ‘Value TXT’ field, enter the record sent to you by email or generated using EmailAuth’s DMARC Generator.
You have now successfully added the record!
Check the published DMARC record using EmailAuth’s DMARC validator. It may take anywhere between 24 to 72 hours for the record to reflect in your DNS.