DomainKeys Identified Mail (DKIM) is an anti-tamper protocol that keeps your emails secure in transit. DKIM uses digital signatures to check that the email was sent by a specific domain.
Before you can set up DKIM for Mailerlite, you need to verify your domain on Mailerlite. Follow these simple steps to do that:
- Log in to your Mailerlite account and head to the Domains page.
- Click on ‘Add Domain’.
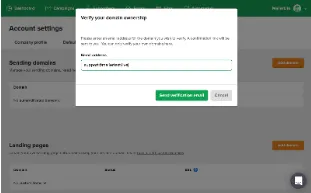
- Enter your desired email address and click on ‘Save Verification Email’.
- Confirm your email, and you will receive a message indicating the successful verification of your domain.
Now that you have verified your domain, you are ready to set up DKIM for your domain on Mailerlite.
To set up DKIM, follow the steps mentioned below:
- Go to the Domains page and click on ‘Authenticate’ for verified domains.
- You will see the DKIM record’s Name and Value.
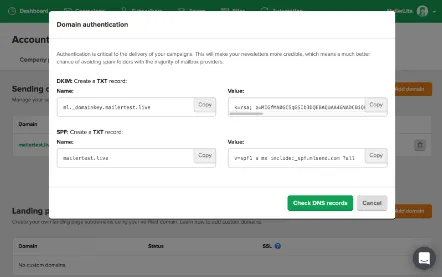
- Copy the DKIM records and head to your DNS management console.
- Create a new record in your DNS and add the copied record values subsequently. After the changes have been processed, go back to Mailerlite.
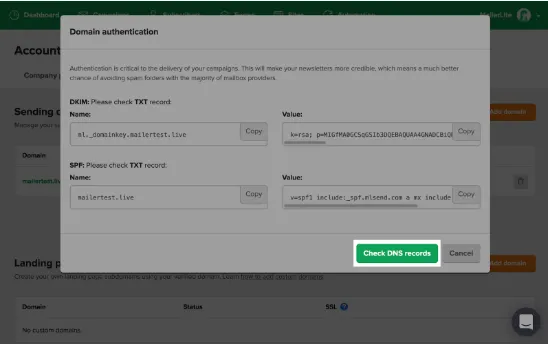
- Click on the green ‘Check DNS records’ button. If the changes are approved, you will see the confirmation message.
Now that you have successfully set up DKIM, check the validity of the DKIM record using EmailAuth’s free DKIM validator tool.